Creating a Playlist
The Playlist window is where you create loops of content that you can either use in a Template or in the Scheduling grid.
You can create a new playlist in different ways.
Option 1 - + PLAYLIST button
Click the +PLAYLIST button at the top of the Playlist window.

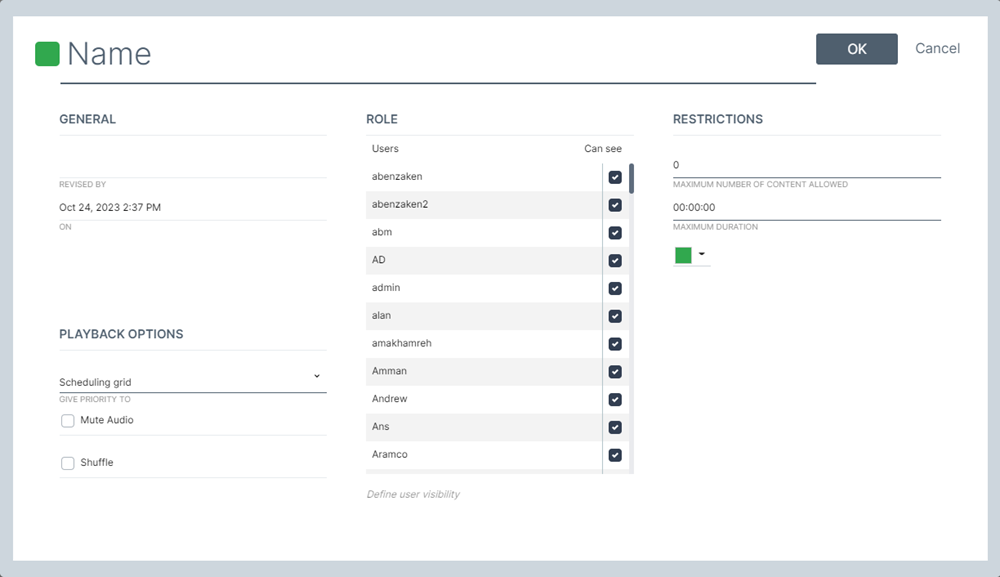
This will open the new playlist window. This is where you configure your new playlist. See below for details.
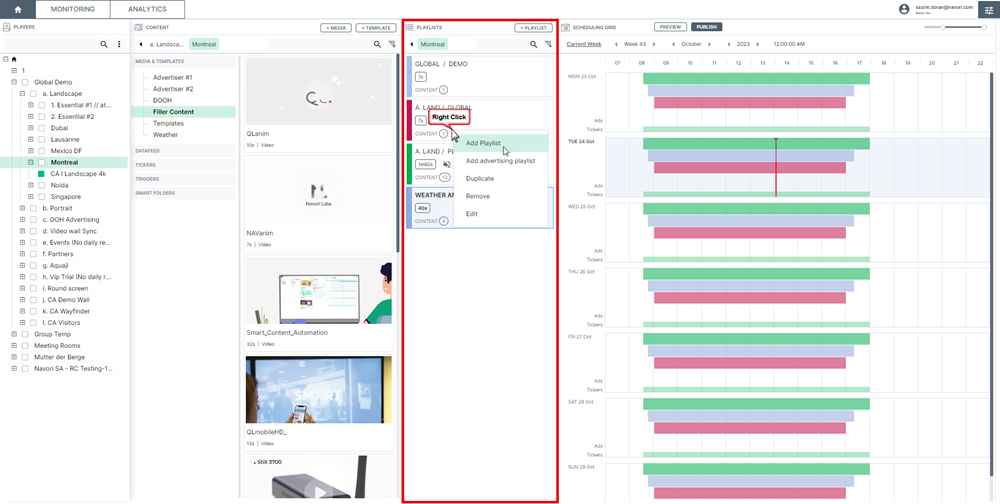
Option 2 - Right-click in the Playlist window
Right click in the Playlist window. Select Add Playlist from the pop-up menu.
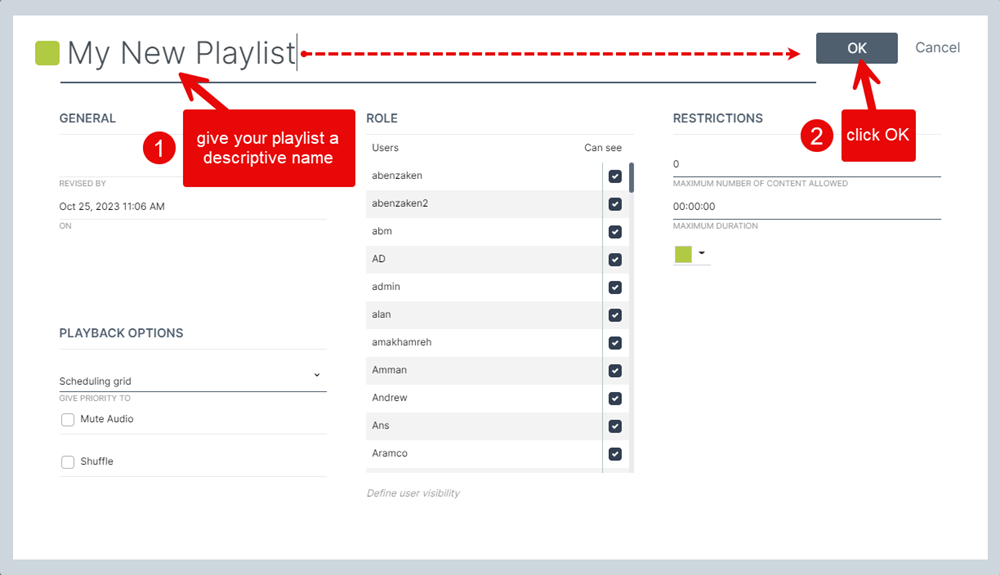
The Playlist Properties window will open. Click the Name field and type the name you wish to assign to the new playlist.
Click OK to create a new empty playlist.
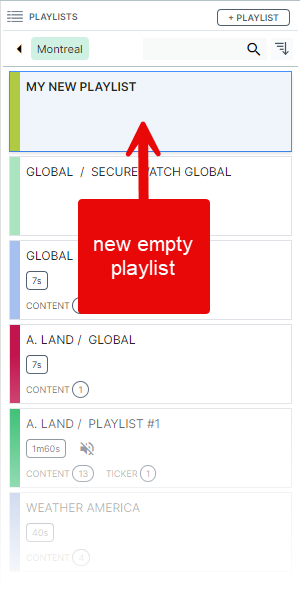
Playlists appear in alphabetical order. You may need to scroll down the window to locate your new playlist.
Newly created playlists contain no items. You must populate your playlist with content before you add it to the Scheduling grid.
Clicking on the playlist name will expand the window to show all the items it contains.
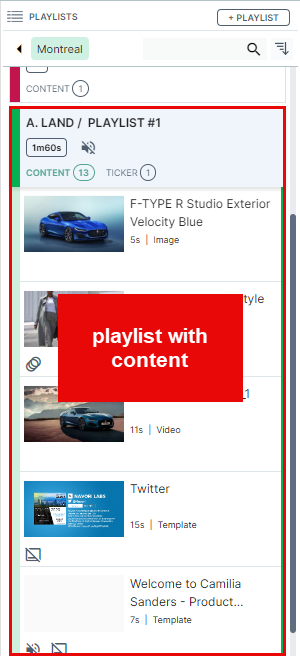
Click here to learn how you add content to a playlist.
OTHER OPTIONS
When you right-click in the playlist window, you will see these options:
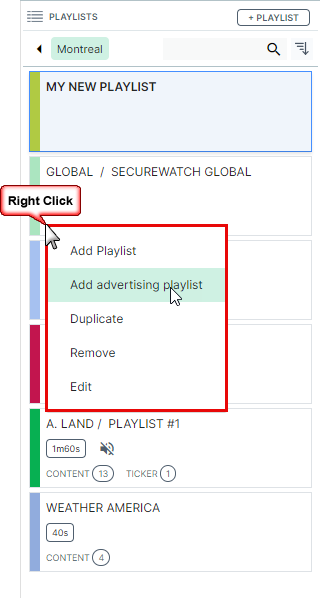
- Add advertising playlist: Use this option to create a new Advertising Playlist.
- Duplicate: Creates a duplicate of the current playlist including all settings and content.
- Remove: Deletes the playlist from the list.
- Edit: Same as double-clicking the playlist symbol or name. Lets the user modify the playlist parameters.
GETTING MORE INFORMATION
Hovering your cursor on a playlist will bring up more information:
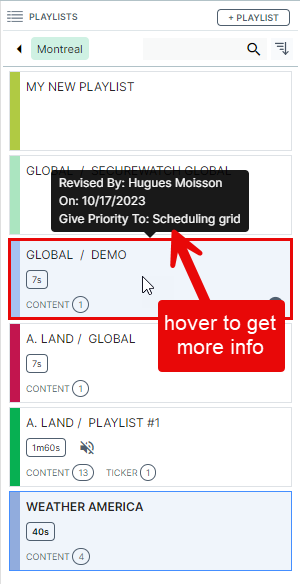
- The name of the user who created/revised the playlist.
- The date of their last interaction.
- The playlist's priority settings (give priority to scheduling, or give priotity to media)