Creating a new Playlist
To create a new playlist, proceed as follows:
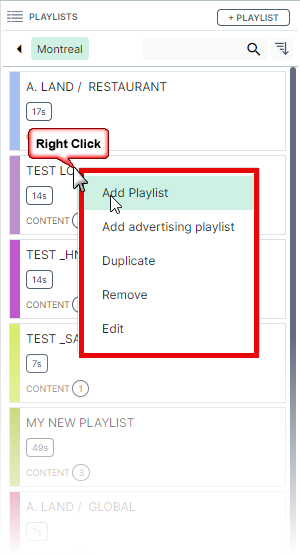
Right click in the top pane to bring up the popup menu.
Select Add playlist to add a regular playlist to the window. Click Add advertising playlist to add a special (advertising) playlist.
Click here to learn more about Advertising playlists.
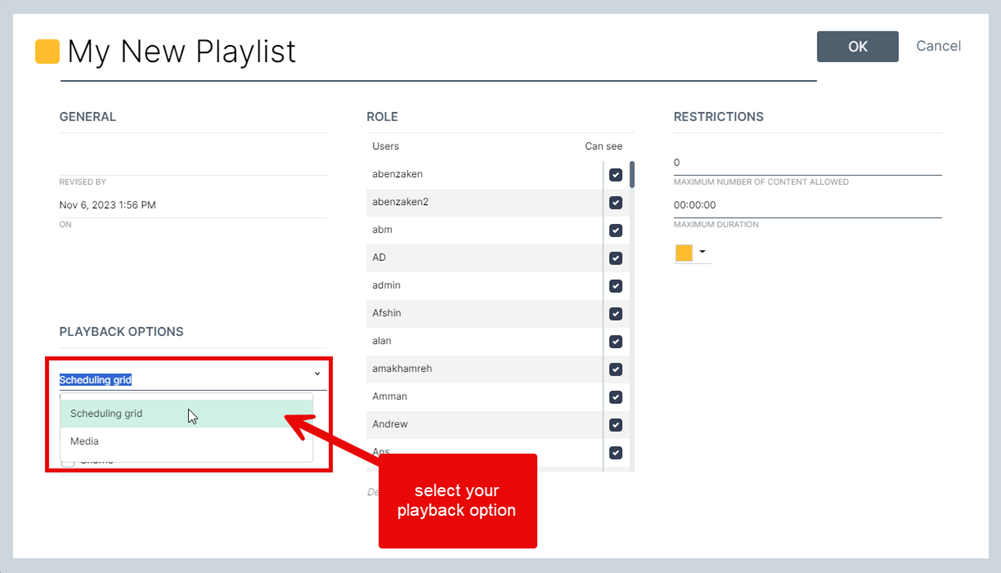
The Playlist property window will open.
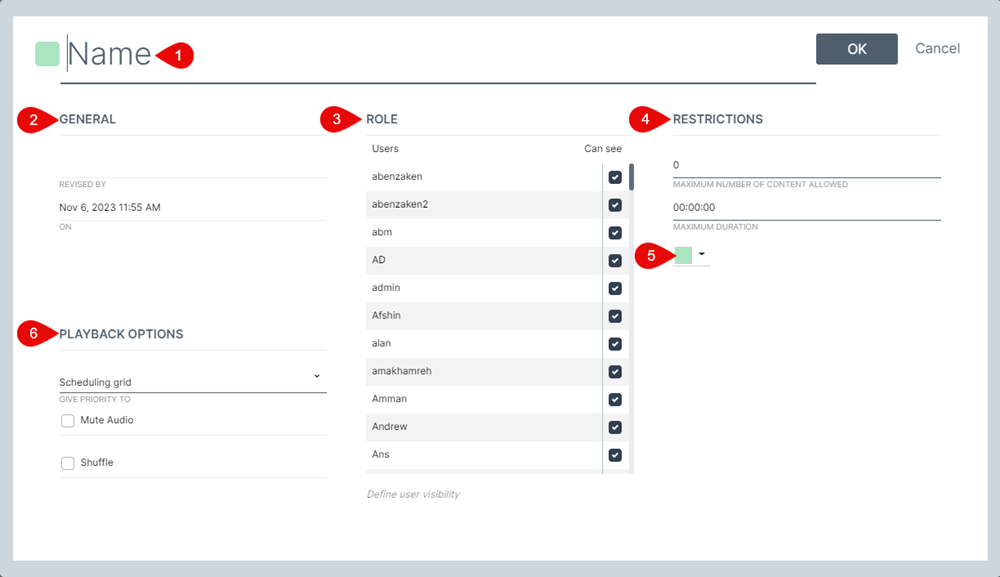
- Name the new playlist.
- General settings: Shows the name of the user who created the new playlist and the date/time it was created.
- Role: If the currently selected group has multiple users who have been granted access, their names will be listed in the Role table. All users will have the “Can see” option selected by default. To hide the new playlist from any users, deselect them from this list. These users will no longer see this playlist when they log-in.
- Restrictions: By default, playlists are unrestricted. You can add as much content as you want to these playlists. However, users can set restrictions that limit the total number of items that can be assigned to a playlist, or they can restrict the maximum total content duration the playlist can accept. Once restrictions are set, users are not allowed to exceed these parameters. A popup notice will be shown if they attempt to add too much content.
- Color identifier: A random color is assigned to each playlist but you can change this color by clicking the down-arrow and then picking the color of your choice. You can also enter any hexadecimal in the field below the transparency slider.
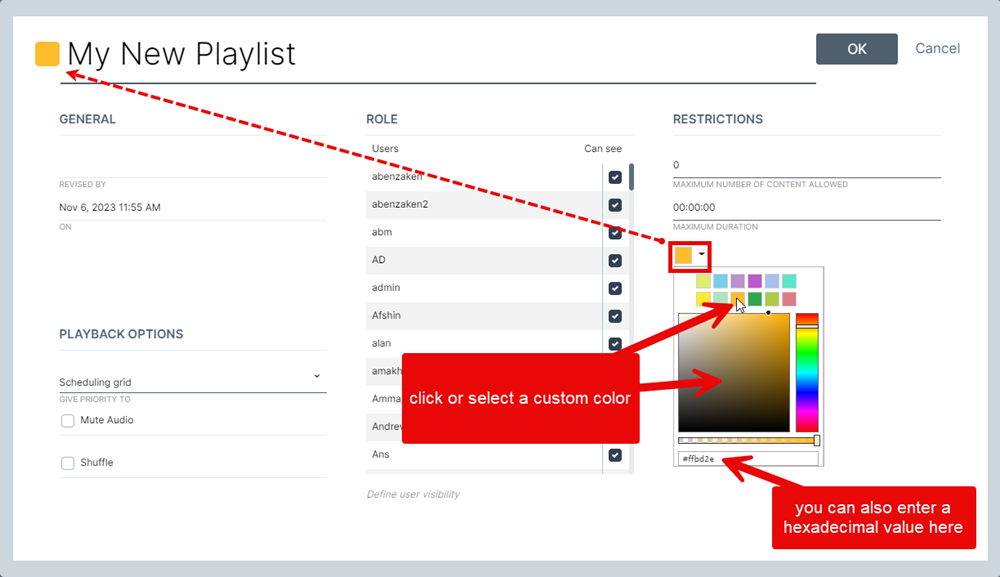
The color identifier will appear on the left side of the playlist window.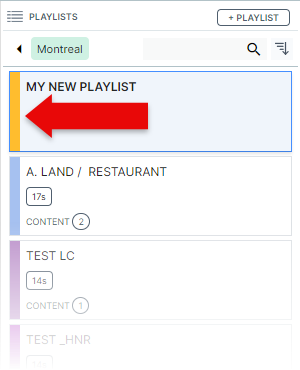
You can track which playlist is associated with each time slot by looking at its corresponding color.
- Playback Options: By default, priority is given to the schedule. This means that any playlist scheduled in the grid will respect it’s end time. Any content currently playing at this point will stop and the next scheduled playlist will begin. If the user selects Give Priority To: Media, the currently playing content will continue to play until it’s end. At this point the next scheduled playlist will begin. Selecting this option delays the beginning of the next scheduled playlist so the currently playing content has had the chance to finish (not the entire playlist, only the content that was playing at that moment).
Other selectable options are to mute the audio for all items listed in the playlist and set the playlist to shuffle content instead of following the order in which the content has been organized.
Modifying playback options will change how the playlist is represented in the playlist window.
Symbols will appear when a playlist is set to shuffle play and/or mute the audio.

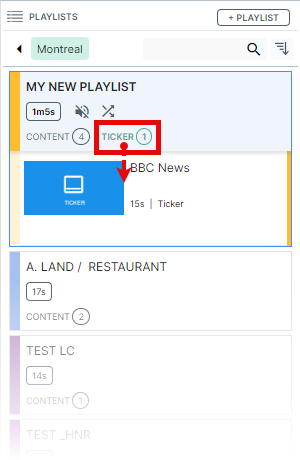
The playlist content pane
Click on any playlist to expand the window and show all the media items it contains. Playlists can contain content and tickers.
In the example below, we can see the highlighted Content button showing the number (4). This means there are 4 media items in the playlist. Content is the default view.
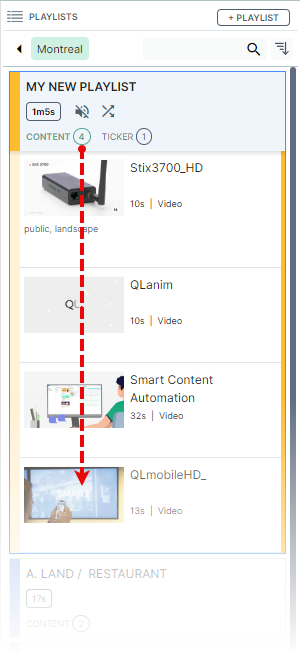
Clicking Ticker will reveal the tickers that have been assigned to the currently selected playlist.